Back in the late 1990’s, Digital Photography began gaining widespread adoption as a household hobby. As disposable film cameras began being replaced by their digital counterparts and taking pictures became easier, predictably more pictures were taken. Printing all of your photos became increasingly impractical with how much money and space it took, and so came the earliest models of Digital Photo Frames.
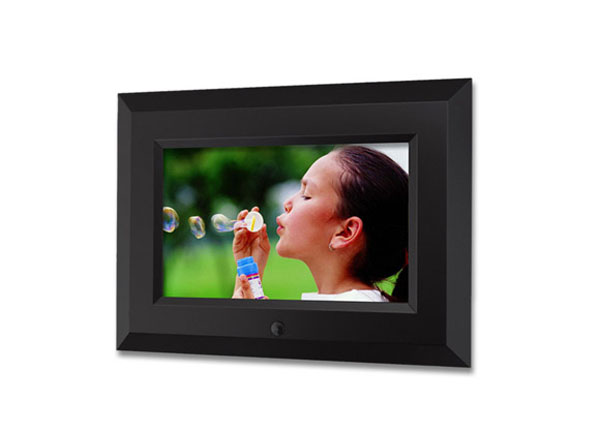
First Generation (2005-2009)
Even in the first generation, Digital Photo Frames were pretty convenient, compared to printing and framing all of your photos. Most could directly accept memory cards from digital cameras, and it was an easy way to have all of your photos showing in one place, and best of all, it would cycle through them! It was a small surprise every time you looked at it. Still, they had their issues.
They were easy to operate, but the early analog LCD screens didn’t have the best image quality. They were dim, and the colors weren’t very vibrant. That was particularly noticeable on larger sized ones where loss in detail stood out more. Memory cards were also an issue at times, because some brands of cameras used proprietary formats like the Sony Memory Stick Duo cards, so you would have to transfer them onto a computer, then the appropriate one for your Digital Photo Frame. The result was that the first generation was still considered a niche product.


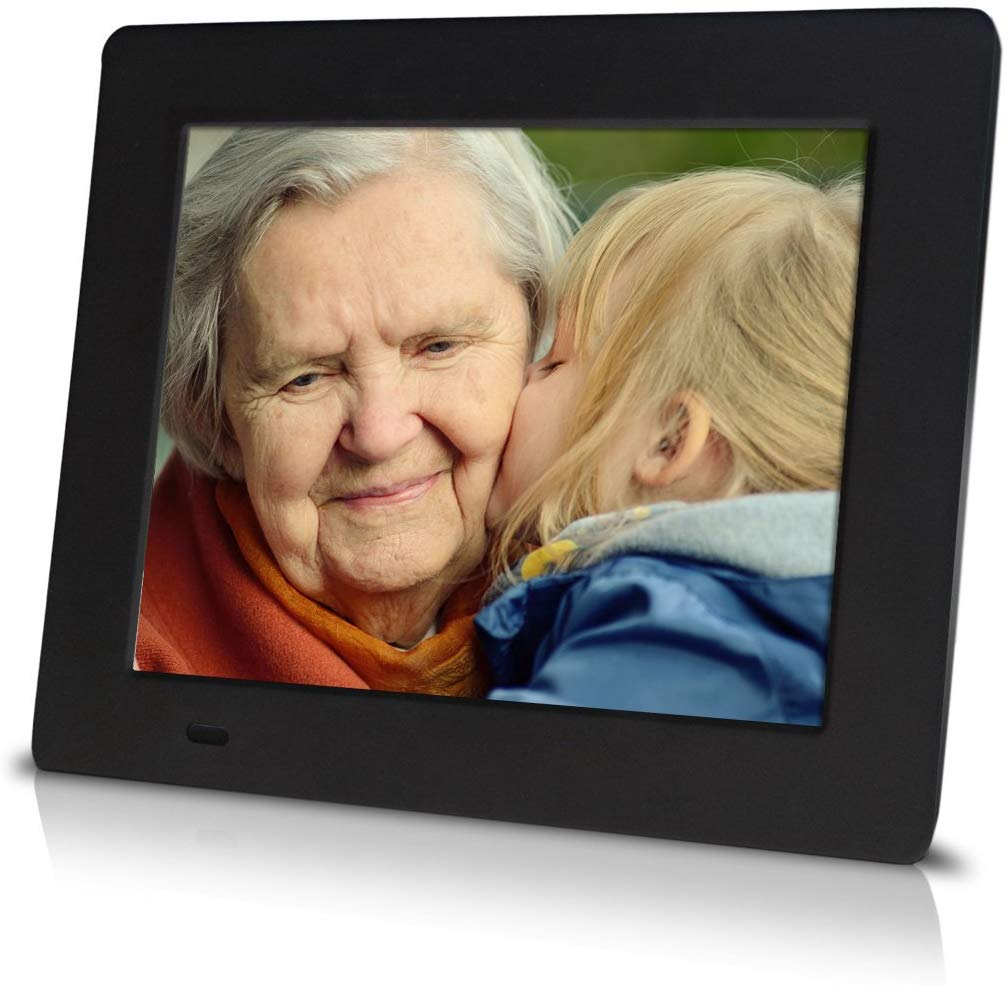
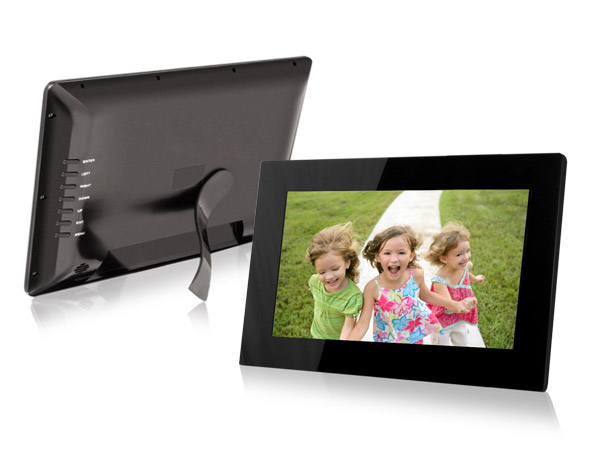
Second Generation (2010-2014)
Fast forward into the mid to late 2000’s where practically any phone had a digital camera built-in. Digital Photo Frames saw an explosion in popularity and became one of the hottest selling gifts of the decade. Display technology took a leap forward as analog signal panels fell out of popularity, and picture quality over the first generation.
Memory formats became mostly standard, using the universally popular USB drives and SD Cards to transfer photos onto the frame. While the core functions were improved, people still felt that they could be more convenient, especially because the first generation of iPad was released. Early generations of WiFi Digital Photo Frames began rolling out, but storage was still an issue and the experience was still somewhat unsatisfying.
So what changed?


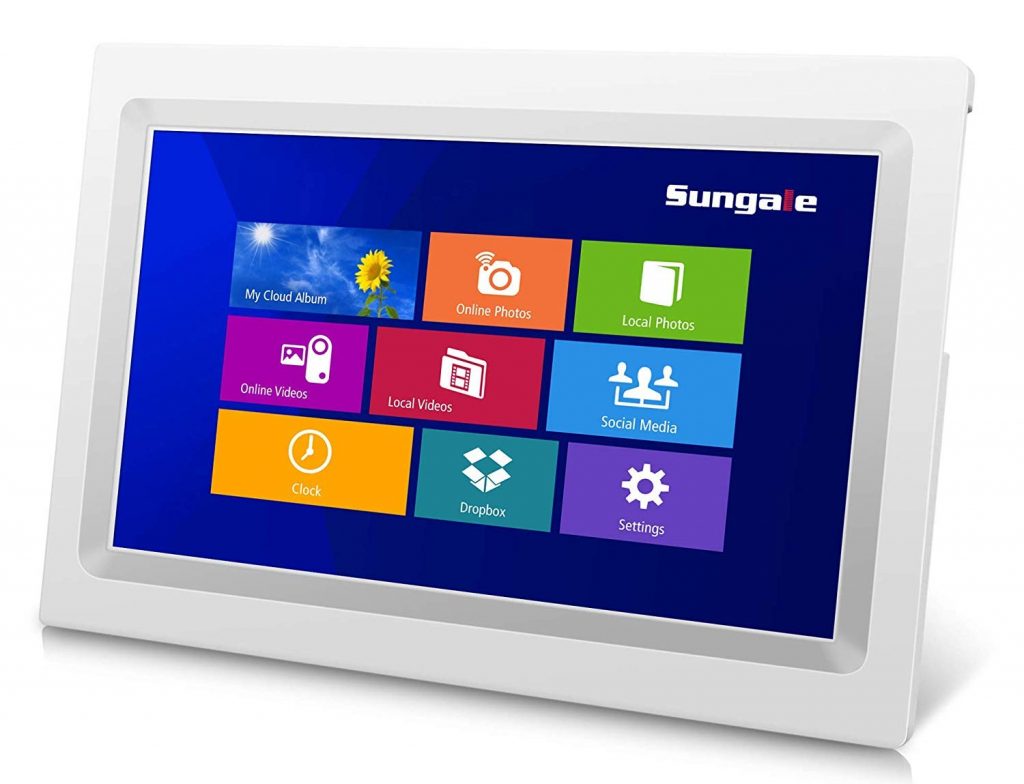
Third Generation (2015 to Now)
Tablets inspired the next generation through features like a Touchscreen and WiFi. Operating the frame became far more intuitive, and the Internet of Things let you interact with the frame through apps on your smartphone. Images can be safely stored on the Cloud with enough storage for tens of thousands of photos, and local memory can be used for larger items like home videos.
After continuous improvements on hardware and software, Cloud Digital Photo Frames have earned a spot in the Smart Household. We’ll show below how easy it is to display your memories and share even with long distance family members.

So you’ve set up the frame and the app, now what? The first thing you can do is begin sending photos into the Cloud and onto the frame into Cloud Albums. You can organize the Cloud Albums like Playlists, and start clearing up some space in your Smartphone. You can also give family members guest accounts so they can contribute to the Cloud Albums as well, and also link multiple frames together.
Thanks for Reading!
If you’d like to know what else you can do with a Cloud Frame once you’ve registered, stay tuned for an upcoming post! Buy a Cloud Frame as a present or as a present for yourself! We don’t judge. You can find our E-Store and Amazon Listings here:
If you thought the article was helpful or interesting, please take a moment to share it with friends on social media, it helps us out a lot. If you’d like to learn more about Digital Photo Frames or Cloud Frames, here’s some other articles:
The Top 4 Benefits of WiFi on Cloud Photo Frames
What should I look for in a Digital Photo Frame?
The Best Photo Sharing Experience Starts With the Cloud Frame
